|
Surveys is another tool in your tool box that is our program, that will allow you to create surveys for specific topics you want to gather information from your students. The “Survey” tool can help you in decision making, planning, and more for your institute. Our “Survey” dashboard is easy to use. Directory of Institutional Surveys are surveys that you can send to your students for gathering information about the institute. You can create custom surveys from the “Directory of Institutional Surveys” dashboard.
When you make your survey you have different parts that will help you with designing it. The “Image” section is where you can add images/ visual aids to your survey questions. These pictures/ visual images will be there to give your user a “Visual Reference”, information to answer the survey. This information will appear in a section of text above or near your survey questions. You can also use this section of the “Editor” dashboard to add your schools logos, images, etc… This gives your surveys visual appeal and allows you to show off your school through pictures.
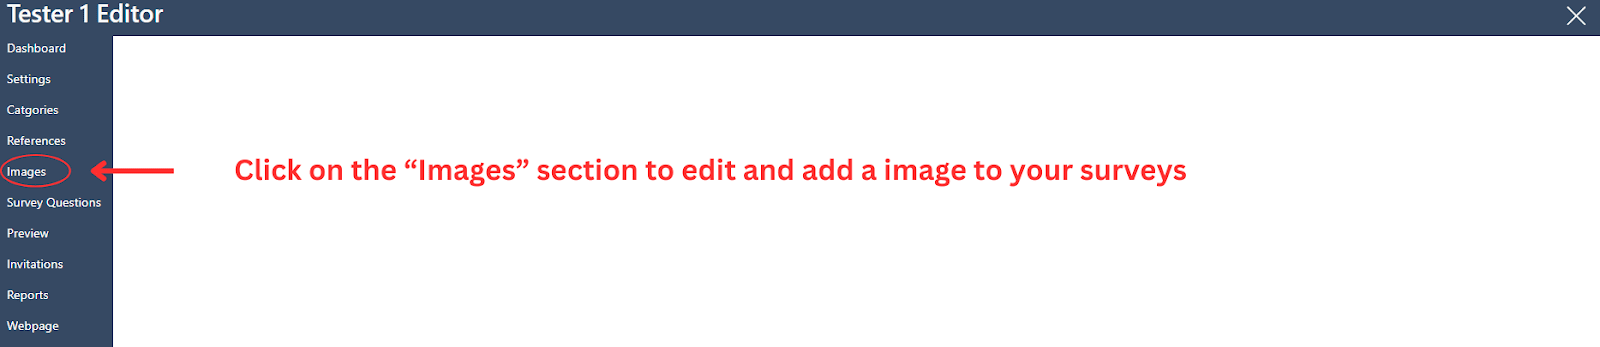
The “Image” section can be found on the left side of the screen (fifth tab from the top on the left side in blue) of the Editor dashboard.
This article will walk you through adding images to your survey.
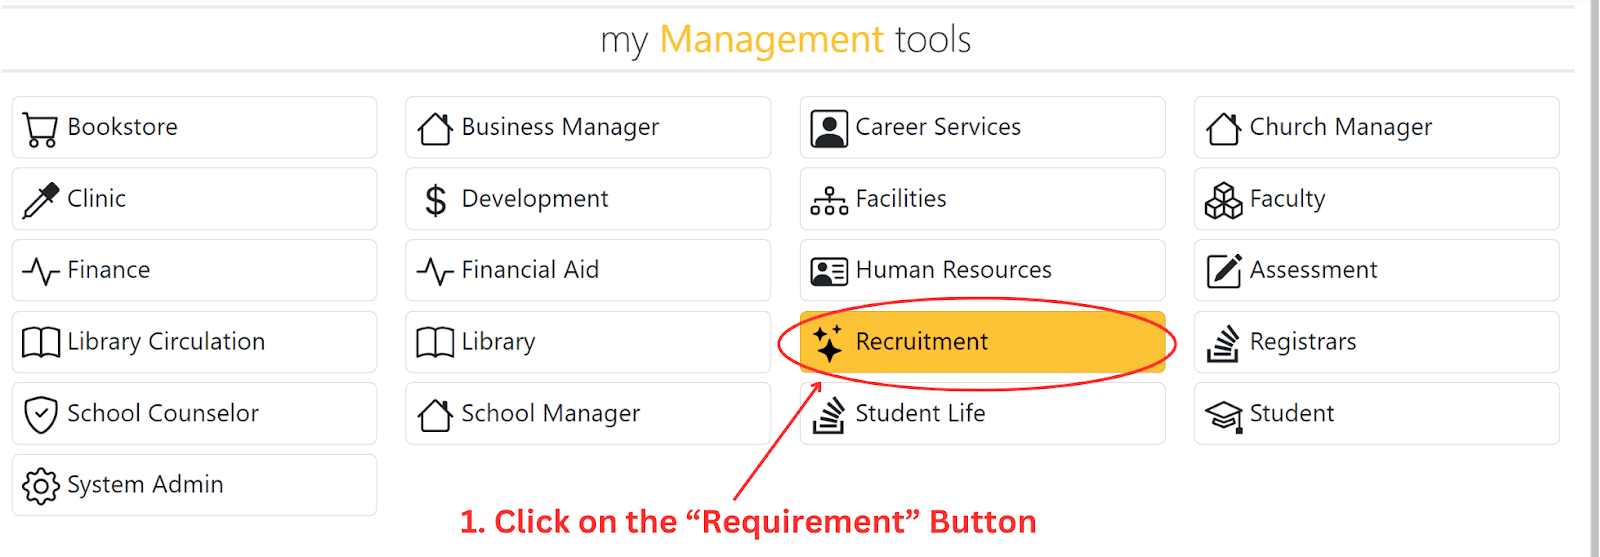
You will start by opening up your system and clicking on the “Recruitment” icon on your dashboard.
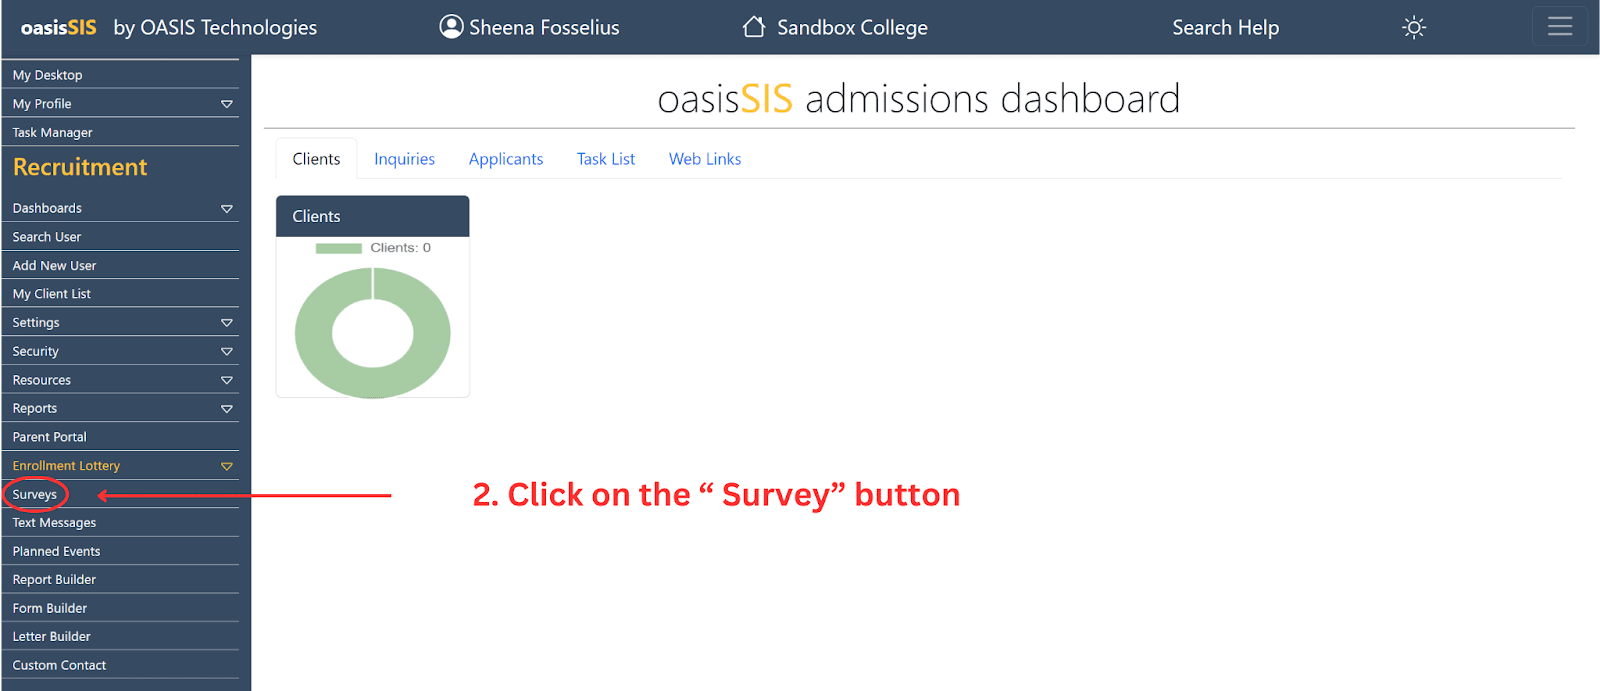
The recruitment dash will open and you will click on the “Surveys” tab (in the blue box on the left of your screen, towards the bottom of the list).
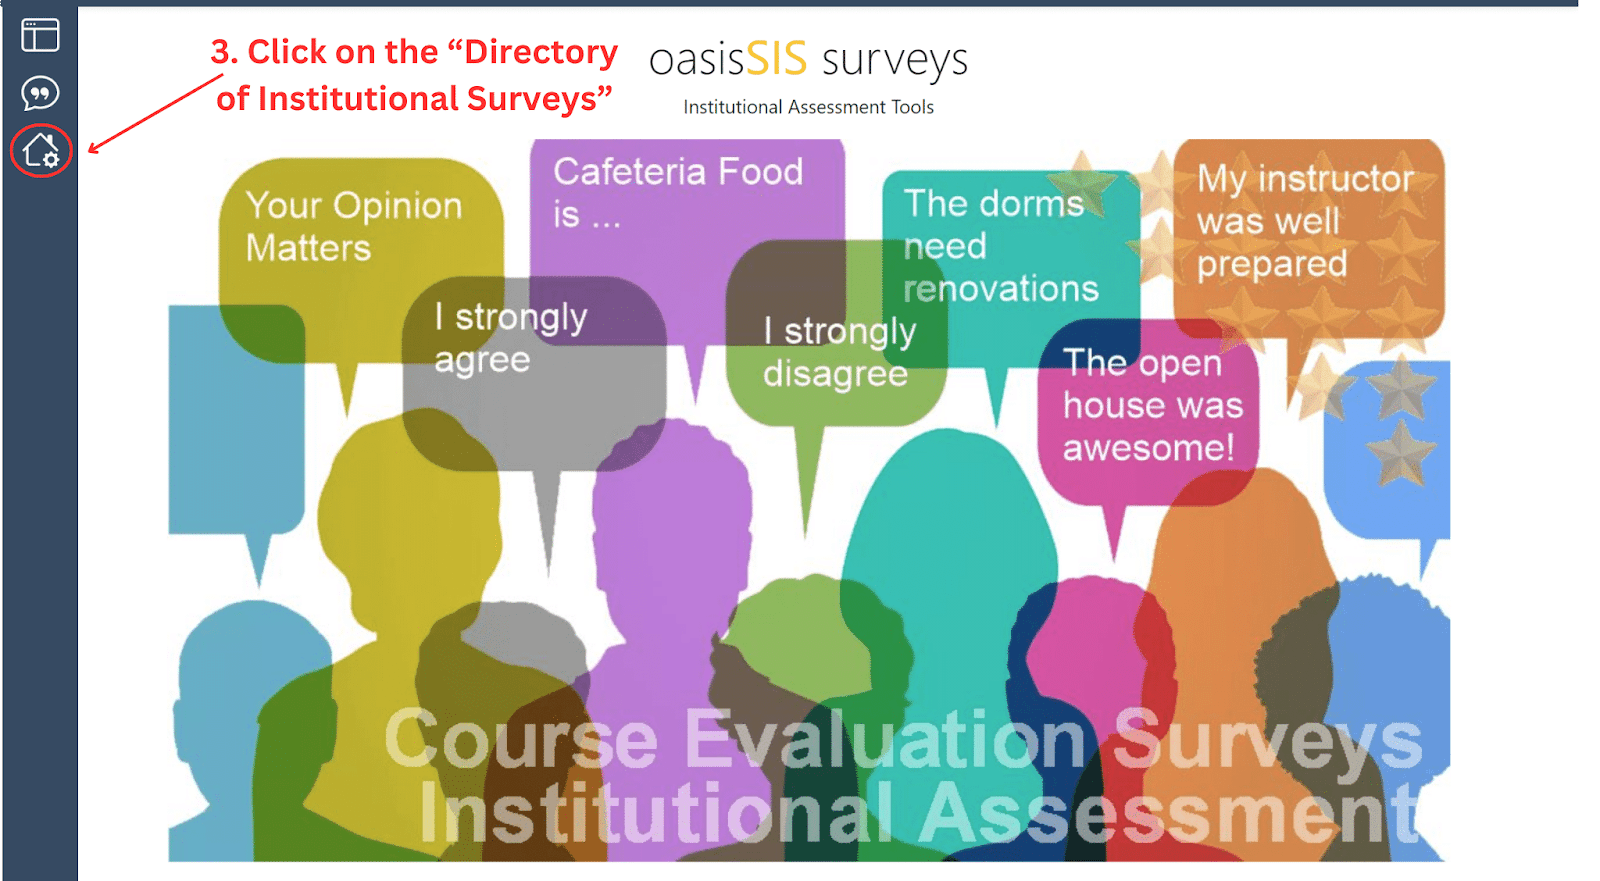
The “surveys” dash will open on the right hand of your screen (the recruitment list will remain on the left side of the screen). Click on the third icon listed in the Survey dashboard (the house with a settings gear on it).
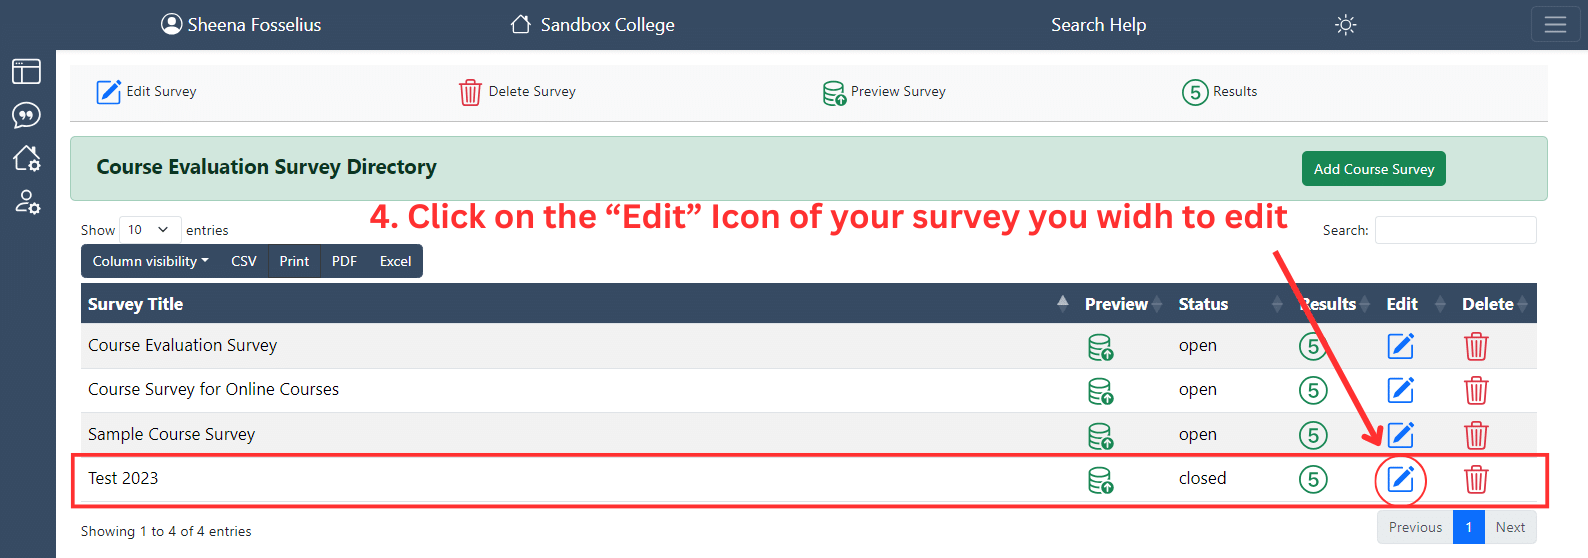
On the “Directory of Institutional Surveys” page, click on the “Edit” icon button of the survey you wish to customize (looks like a pencil writing on a pad of paper, this will open a different window/ dashboard ).
The dashboard (editor) will open with several options for you to customize your survey. On this “Editor” you will get your links, reports from surveys, and also see what the website for your survey looks like. The tools for your survey are all in one place for each survey you create.
Click on the “Image” section can be found on the left side of the screen (fifth tab from the top on the left side in blue. This will open a different window/ dashboard for the Image section).
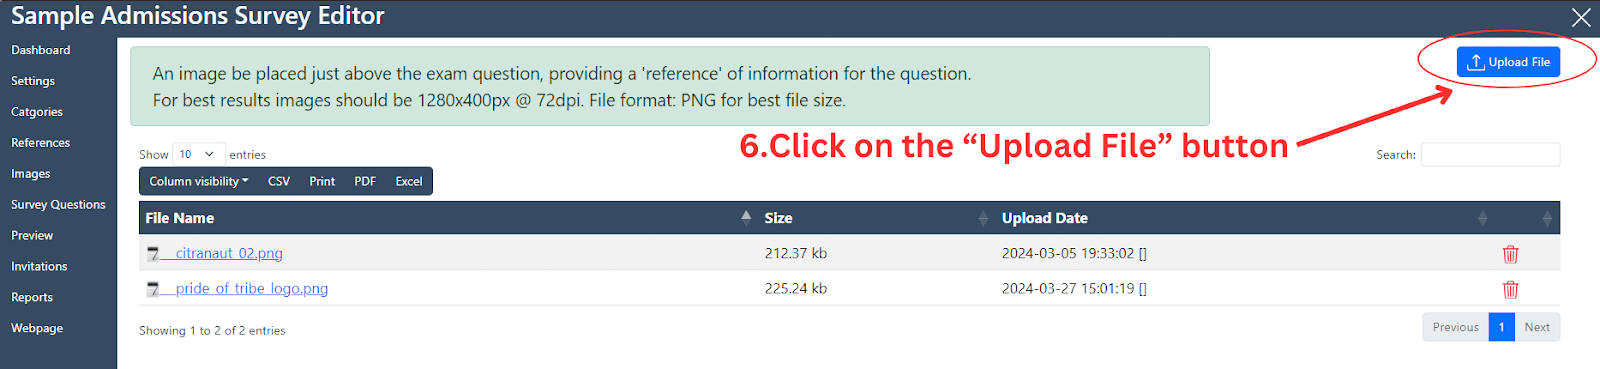
On the “Image” dashboard you will want to click on the blue “Upload File” button (the blue button on the upper right side of the screen).
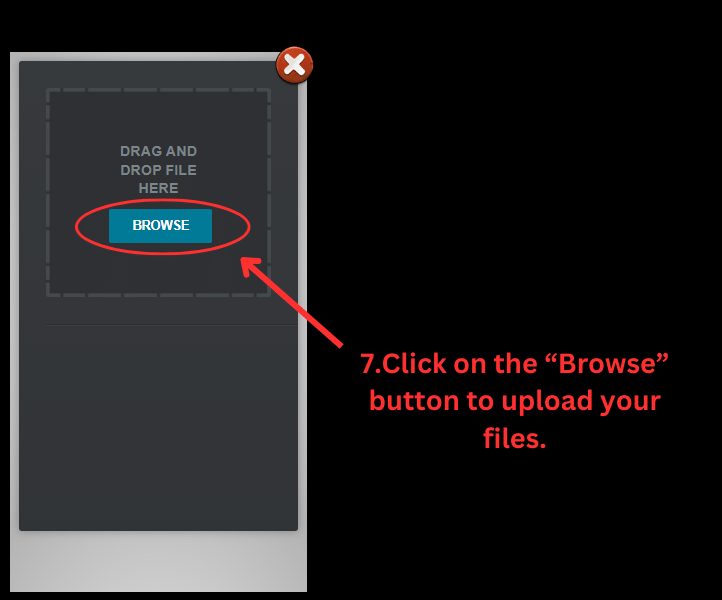
You will be taken to another screen to add your file/ files. You will have the ability to add multiple files at one time if you so choose to. Making the process of loading your images faster by doing them all at one time. You can always come back later and add new images to your survey.
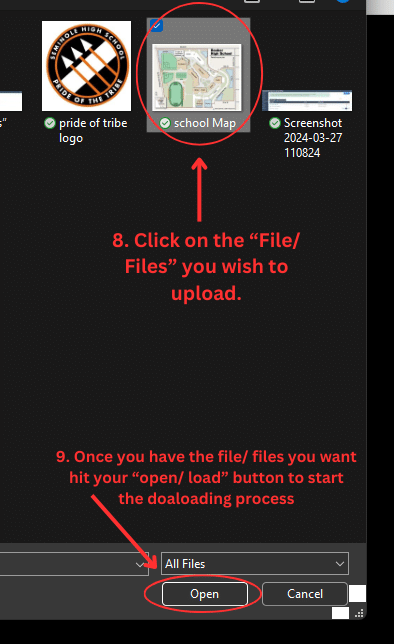
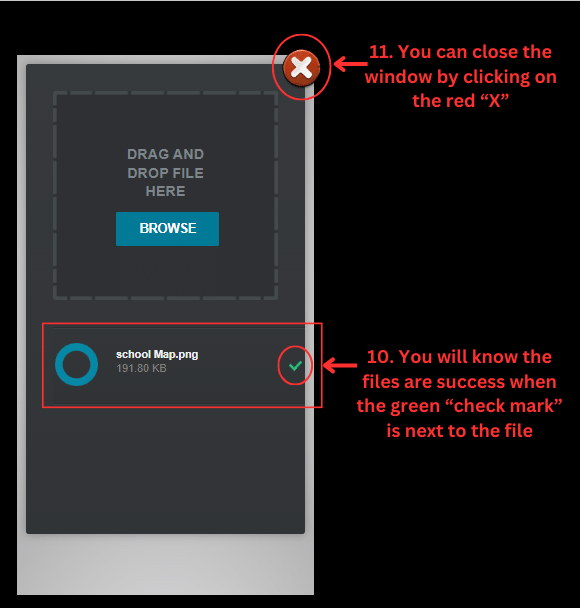
Clicking on the “Browse” button will open your files on your computer/ system. Choose all the images you would like to add to your survey. When you have chosen all the files you would like to add, click on the “open” button.
When the files are completely done uploading in the “Upload box” you will see a green “check mark” next to the new files. From here you are ready to close this window and return to the “Editor” dashboard. You will click on the red “X” on the page.
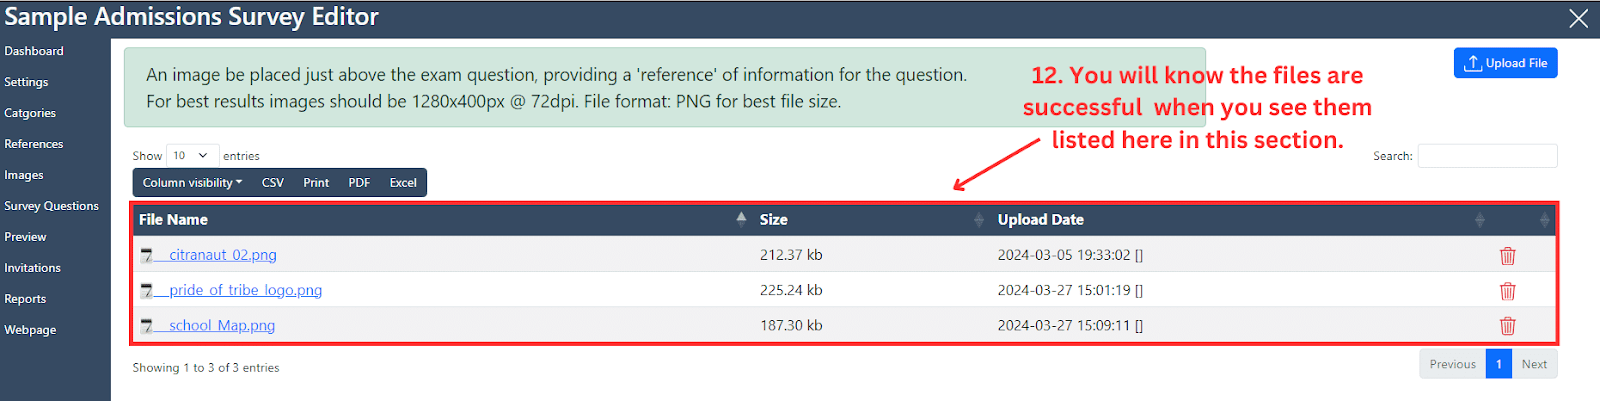
Back on the “Editor” dashboard under the “Image” tab is where you will see those new images you have just uploaded. This is how you will know that they have been successfully added when the filename is here.
Also read
How Do I Create A New Institutional Survey ? (see Article 107)
How Are Institutional Surveys ? (see Article 560)
How Do I Use Settings In Institutional Surveys ? (see Article 562)
What are "Images" In the Survey Editor? (see Article 568)
|
